
Daisy Daydream is the 12th anniversary of Stampin Up Paper Pumpkin. This kit has been so much fun and stampers from all over have share their alternatives. Here are a few of my favorites.
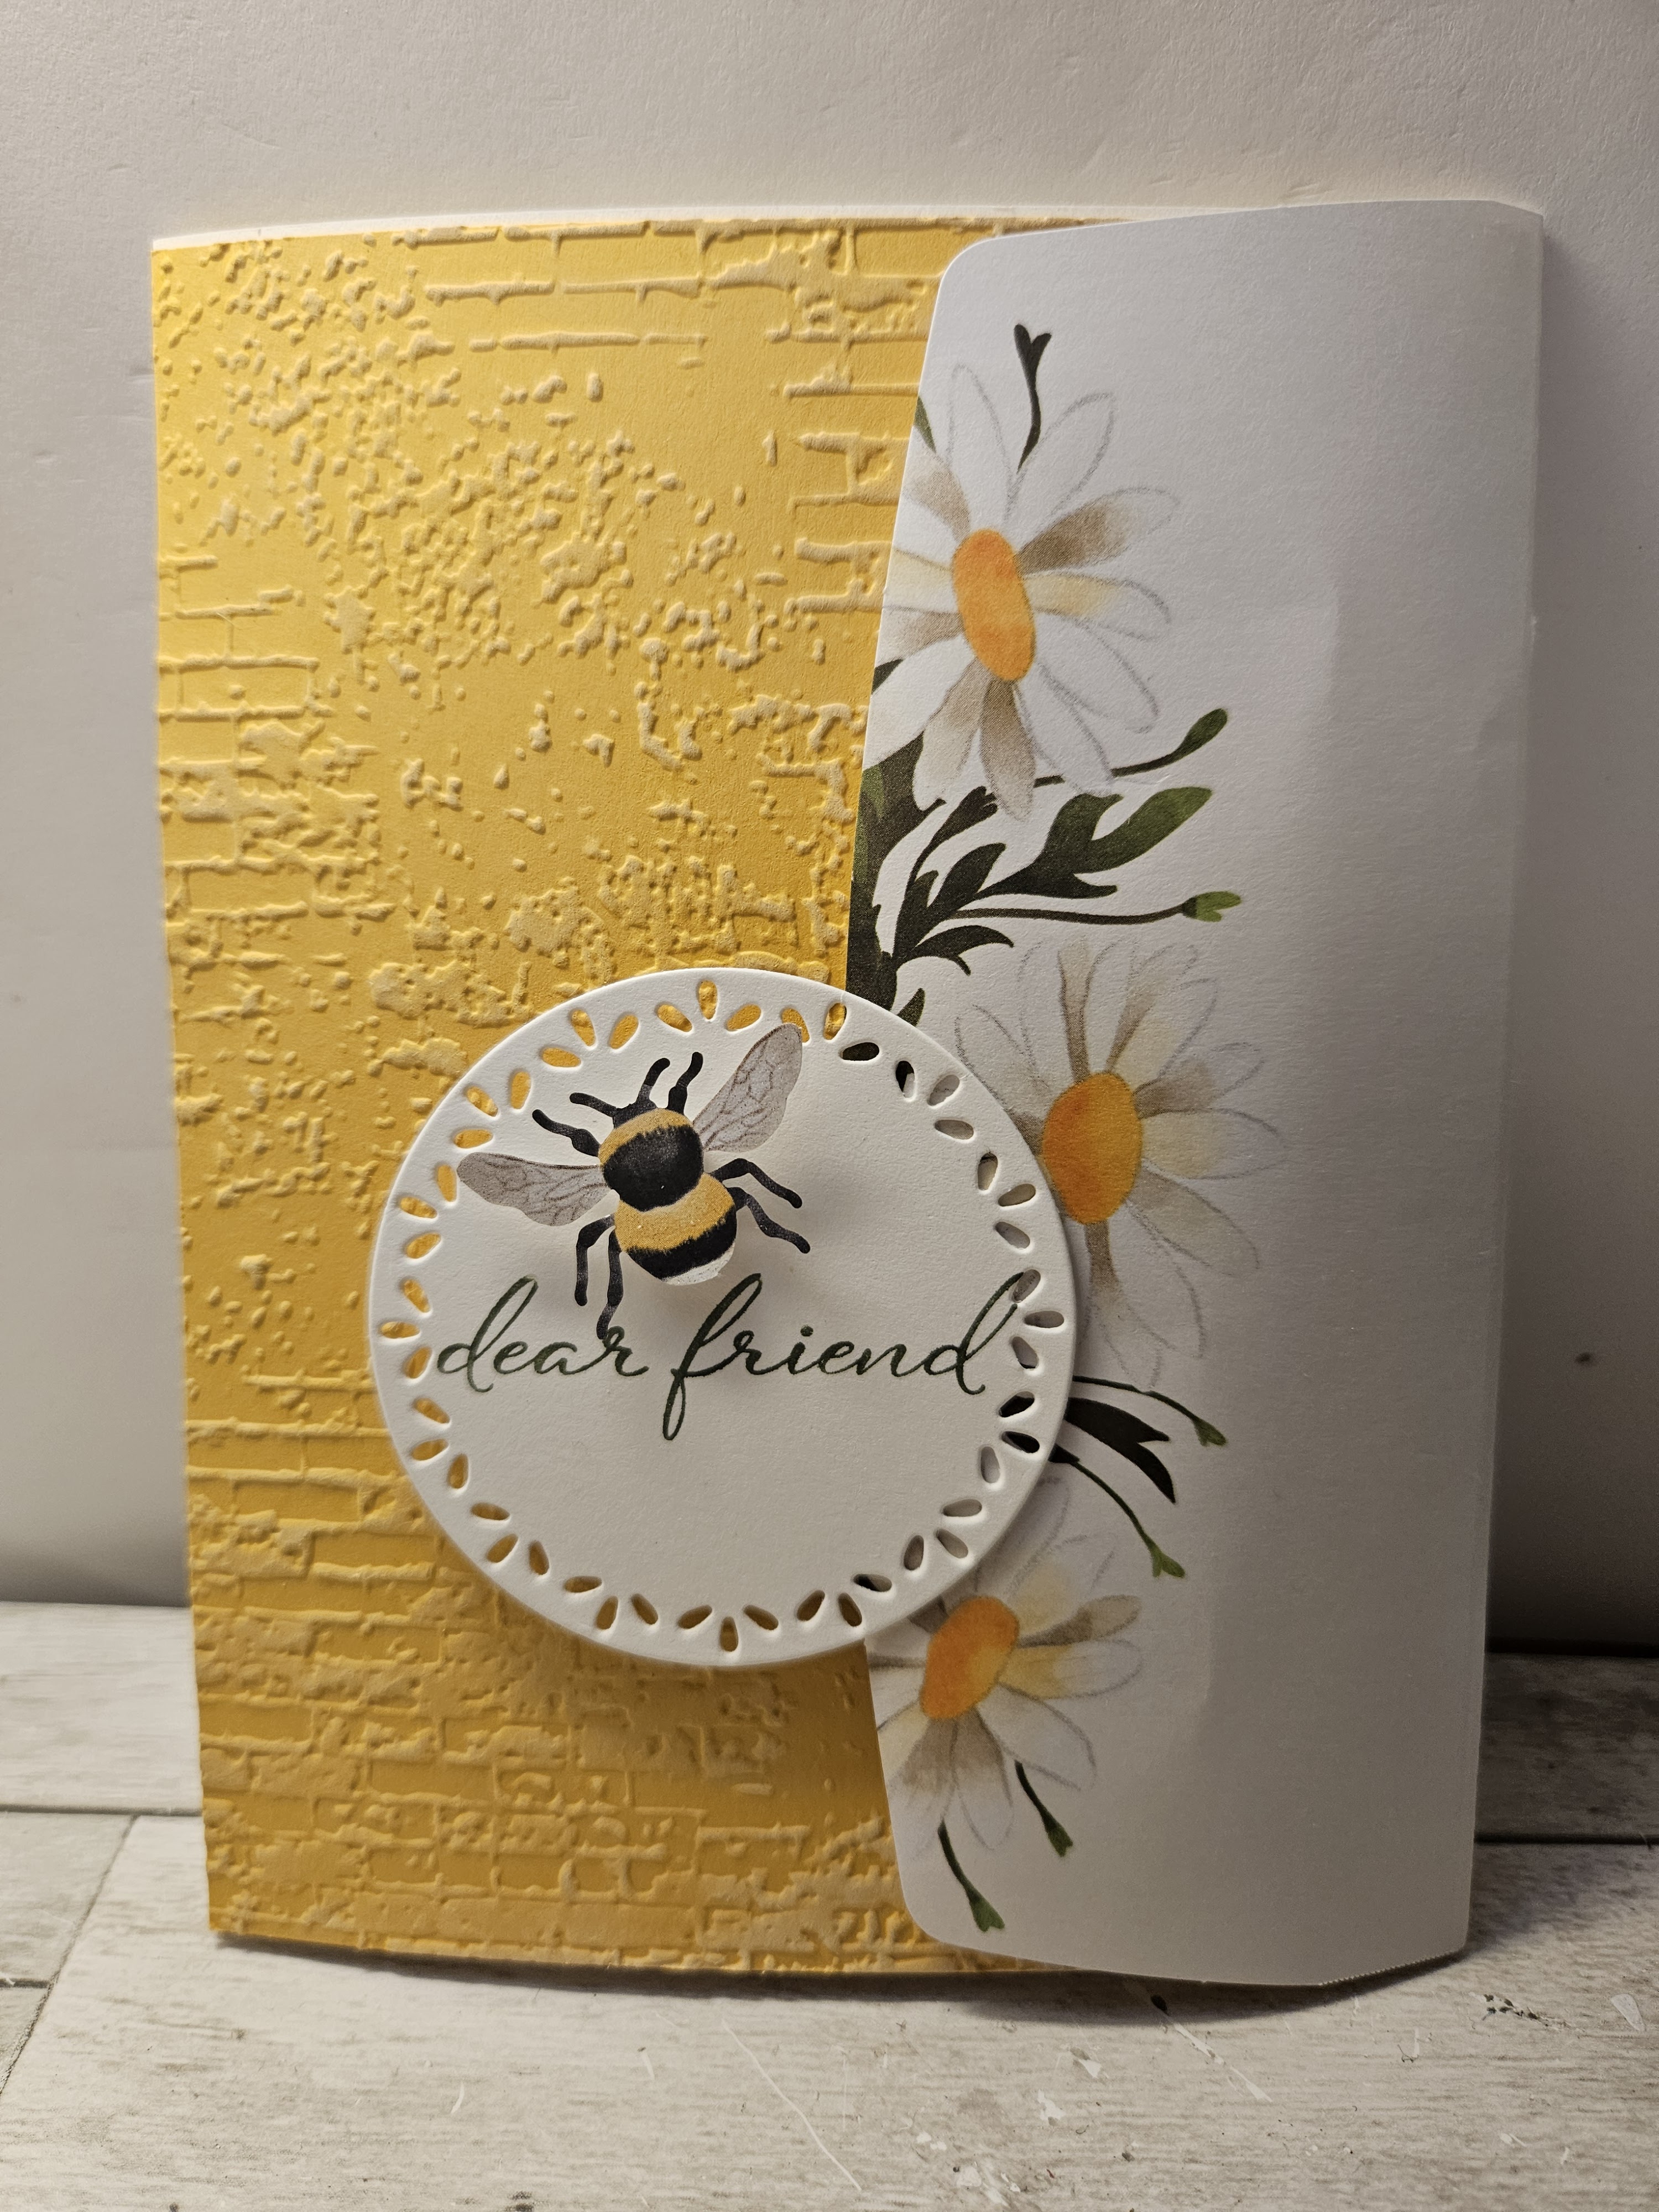
The faux step card is one of my favorite fun folds.
I used Mossy Meadow, Crushed Curry paper.
Spotlight on Nature, Stylish Shapes, Darling Details dies. I love the die to thread the vanilla ribbon through from the Darling Details bundle. The Happy Easter is from the February Paper Pumpkin.


A few brass butterflies and and the sentiment that goes with the Paper Pumpkin kit.


I love this size of Card in a box or Pop up card.


 This is a bookmark card, I love fun folds.

 This card uses a flap off the envelope to hold the card closed.
 I meant to make another card like the previous but I had a happy accident and out the flap on the wrong side. I ended up with a 3 flap card. I love it.


Product List


I love this size of Card in a box or Pop up card.
It fits in a regular envelope.


Product List
 |  |  | |||
 |

")
 Satin Ribbon")


")


")


")


")
 Designer Series Paper")


